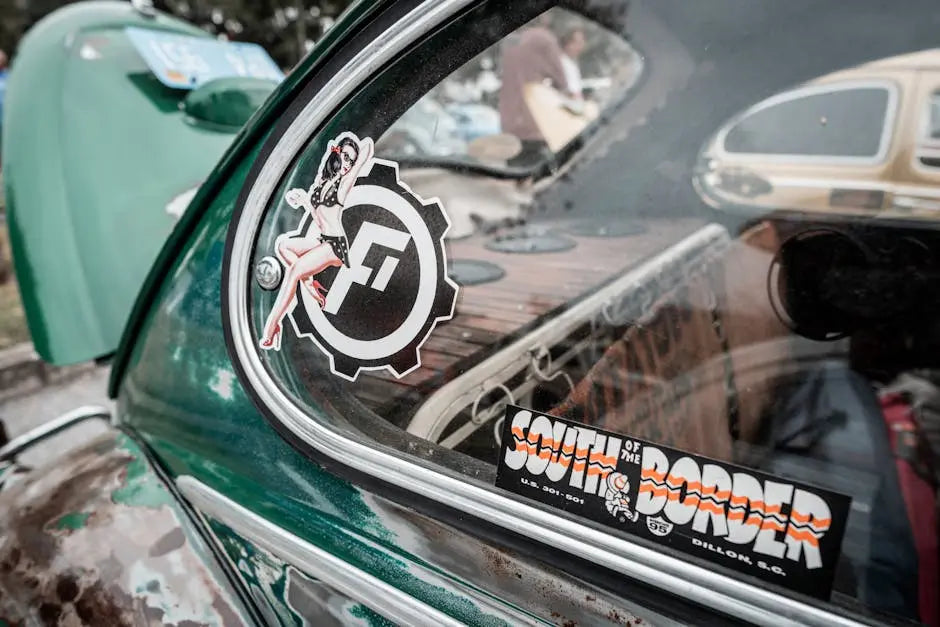
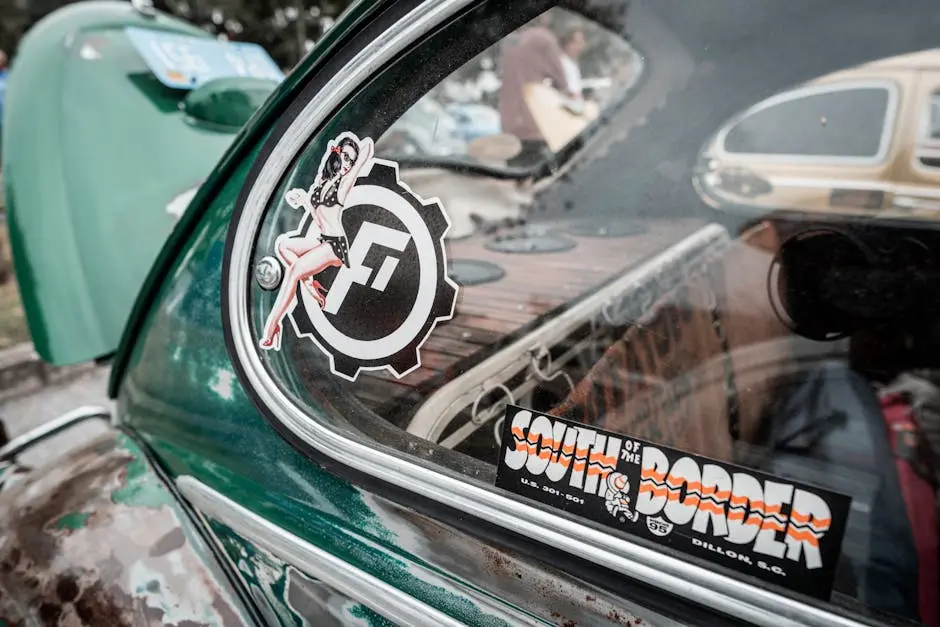
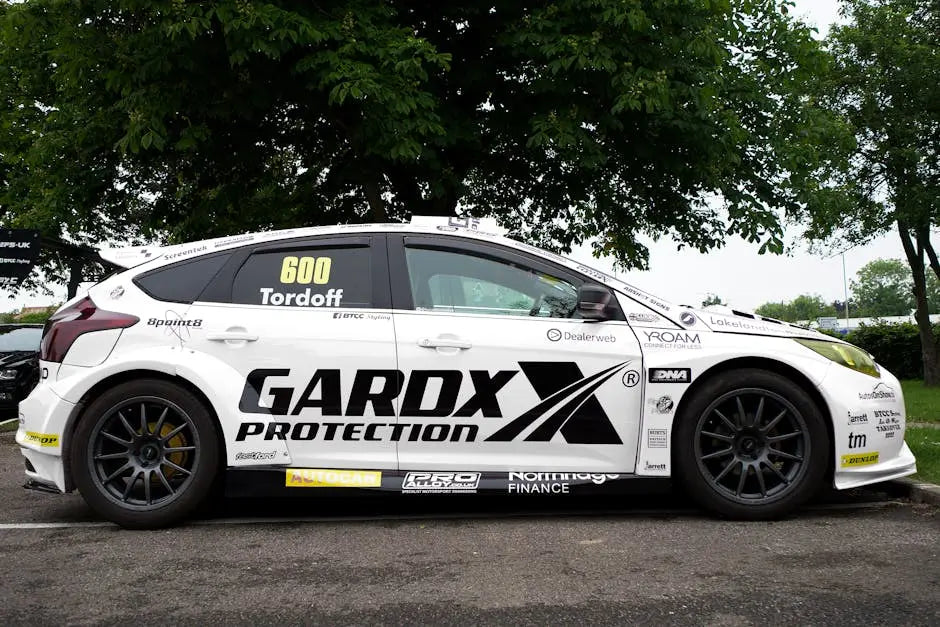
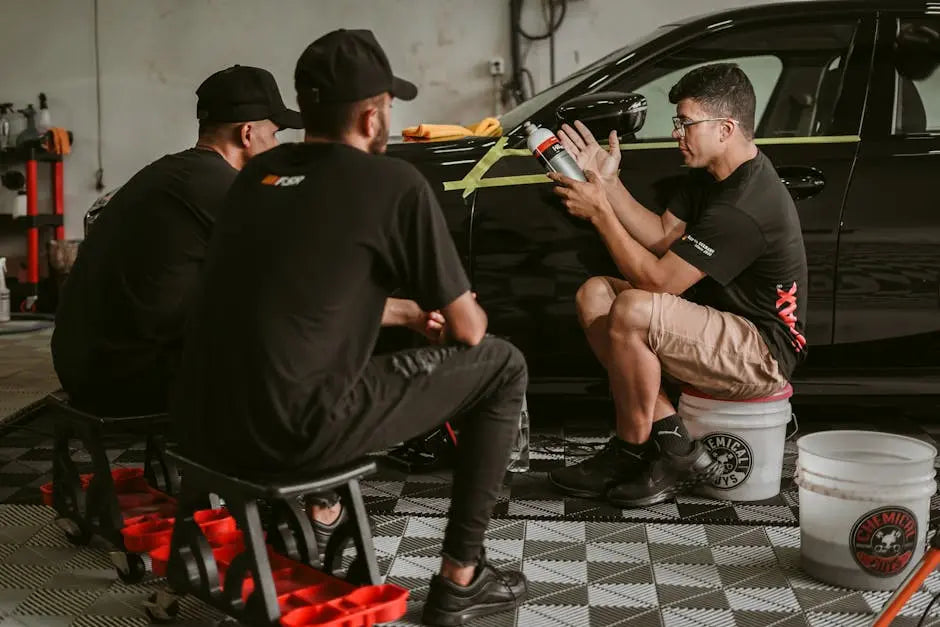
Applying detailing stickers is a fun and creative way to enhance the appearance of your vehicle or any other surface. However, getting them to look just right involves some technique. In this guide, we will walk you through the steps to apply detailing stickers properly, ensuring a smooth finish and long-lasting results.
Gather Your Materials
Before starting, ensure you have all necessary materials including your stickers, a clean cloth, a squeegee, an application solution or spray bottle with soapy water, and a scraper tool if needed.
Having your items readily available will streamline the sticker application process, making it less stressful and more enjoyable. Some people also recommend masking tape for aligning your stickers before committing to their placement. Make sure that your stickers are of good quality, preferably vinyl, as they are durable and weather-resistant.
Prepare the Surface
A clean surface is crucial. Use a damp cloth to remove any dust, dirt, or grime from the surface where the stickers will be applied. Let it dry completely to avoid trapping moisture underneath the sticker.
Consider the texture and type of surface as well. Some surfaces may require additional cleaning steps. For example, a vehicle’s surface often benefits from detailing before or after applying decals to ensure it is completely clean and ready for application.
Plan Your Placement
Before peeling off any backing, plan where each sticker will go. You can use a light adhesive or tape to position the stickers temporarily and check their alignment.
Visualize the final look by stepping back and observing the planned placement from different angles. This is your chance to make sure that the sticker will complement the design of your space or vehicle. If you’re considering several stickers, creating a theme or cohesive design ahead of time helps in maintaining an appealing aesthetic.
Apply the Stickers
Carefully peel off the backing of the stickers and place them onto the surface. Start from one end and gradually smooth it out with a squeegee to avoid air bubbles.
Patience is key here. Gently applying pressure with the squeegee ensures that the adhesive makes full contact with the surface, reducing the risk of peeling or lifting over time. If a bubble does form, gently lift the sticker up to the bubble and reapply. Tiny bubbles can often be minimized by pricking them with a fine pin.
Smooth and Secure
Once applied, use a squeegee to firmly press down the stickers, ensuring every part adheres well. For larger stickers, smooth from the center outwards.
After securing the sticker in place, inspect the edges. If they appear loose or don’t stick well, don’t hesitate to press down firmly along the edges using the squeegee. Properly sealed edges will maintain the sticker’s appearance longer, resisting weather conditions and potential peeling.
Final Inspection
Finally, inspect your sticker for any bubbles or misalignments. Use the scraper tool gently to fix small errors. Allow the stickers to settle for at least 24 hours before washing or exposing them to harsh conditions.
Now step back and admire your handiwork! Ensure that you give enough settling time to maximize the adhesive’s effectiveness. If applied correctly, these stickers shouldn’t only last long but also elevate your vehicle or surface’s aesthetic appeal. For more about the growing popularity of car detailing stickers, check out our blog!
Wrap Up
With these straightforward steps, applying detailing stickers can be a breeze. Remember to take your time during preparation, alignment, and application to get the most polished look possible. Happy decorating!


Leave a comment
This site is protected by hCaptcha and the hCaptcha Privacy Policy and Terms of Service apply.