

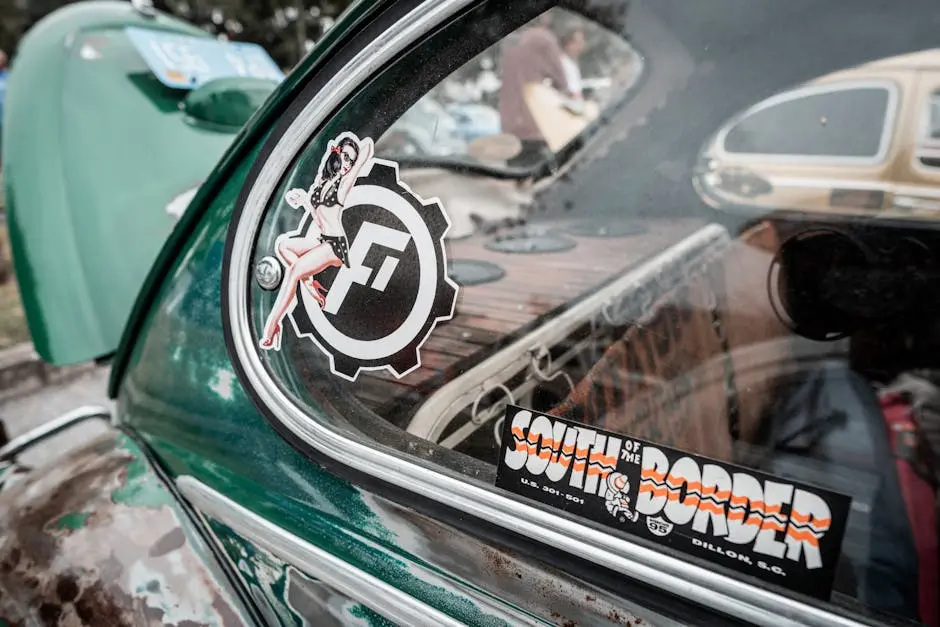
Car detailing stickers can add a unique personal touch to your vehicle, but what happens when it’s time for a change or you’re ready to sell your car? If you’re wondering about the ease of removing these stickers, this FAQ blog will guide you through the process with simple, step-by-step instructions.
Understanding the Type of Sticker Used
Before attempting removal, it’s essential to identify what kind of stickers you’re dealing with. Vinyl stickers, for instance, are generally easier to remove due to their flexibility and the type of adhesive used. However, older or weather-damaged stickers might present more challenges.
Most car detailing stickers fall into two main categories: permanent and removable. Permanent stickers provide a more secure adhesion, but when it’s time to remove them, they may leave behind more adhesive. In contrast, removable stickers are designed for easy removal without damaging the vehicle’s surface.
The composition of the sticker matters, too. Some stickers are made using eco-friendly adhesives that break down easily under heat, whereas others may use more industrial-strength adhesives intended for longevity and durability. Understanding these differences can significantly aid in the removal process.
Gather Needed Materials
Before diving into sticker removal, gather the necessary materials for the task. A hairdryer is handy for loosening adhesives with gentle heat, while a plastic scraper or old credit card can help lift the sticker from the surface without scratching the paint.
Don’t forget the power of a good adhesive remover, which can dissolve leftover residue and make cleanup easier. Always ensure you’re using a product that’s safe for vehicle paint to avoid unintended damage.
Microfiber cloths are your best friends in this scenario because they allow for a gentle touch as you clean away remnants of the sticker and adhesive. Their soft fibers help prevent scratches and maintain the integrity of your car’s paintwork.
Heating the Sticker
The application of heat is a crucial step in the removal process. By directing a hairdryer set to medium heat at the sticker for a few minutes, you can soften the adhesive, making the sticker easier to peel up without leaving behind unwanted residue.
Be mindful of the amount of heat applied. Overheating can damage your car’s paint, especially if done repeatedly or for prolonged periods. Aim to keep the hairdryer moving in small circular motions to distribute heat evenly.
For more delicate areas, such as around sharp curves or detailing features, use a warm compress to provide gentler heat application. This method can be especially useful when you’re working on intricate designs or delicate parts susceptible to heat damage.
Peeling Off the Sticker
Start peeling your sticker from one of the edges. It’s often easier to begin from a corner where the sticker may naturally lift or fray. Use your fingers or a plastic scraper to slowly wedge under the edge, applying gentle pressure to lift the sticker without tearing.
If a section of the sticker tears or resists, apply more heat to soften the resistant adhesive, then continue to peel. Avoid using metal tools in this step, as they can inadvertently scratch or chip the car’s surface.
During the peeling process, patience is key. Rushing can lead to uneven removal or sticky residue being left behind. Work slowly, and if needed, alternate between heating and peeling to find the balance that allows for a clean removal.
Removing Residual Adhesive
Once your sticker is off, you might find some leftover adhesive on the car’s surface. At this point, adhesive removers come into play. Apply a small amount to the area and let it sit for a minute to break down the residue.
Use a microfiber cloth to gently wipe away the dissolved adhesive, applying light pressure in circular motions. Repeat the application if necessary to ensure the surface is devoid of any sticky remnants.
In cases where more stubborn residue persists, consider using a mixture of warm water and mild dish soap. This solution can combat the stickiest bits without harming your paint, providing a safe option for repeated applications.
Inspecting and Cleaning the Area
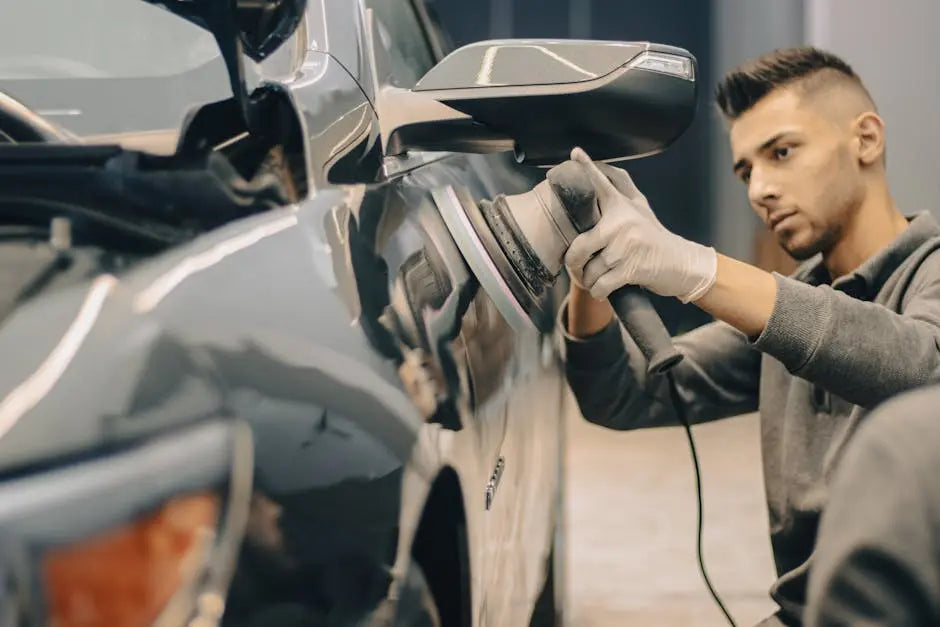
With the adhesive removed, take time to inspect the area. Look for any potential damage or discoloration that might need attention. Minor scratches or dullness can often be polished out using a dedicated car polish.
Finally, wash the area with a mild car soap to remove any remaining cleaner and restore the shine of your car’s paint. This simple step ensures that no cleaner residue remains, leaving your vehicle in top condition post-removal.
Consider applying a wax finish to protect and enhance the cleaned surface. Wax can not only protect against future damage but add an extra layer of shine, making your car look as good as new.
When to Seek Professional Help
While removing car detailing stickers is often a manageable task, there are situations where seeking professional help might be advisable. If the sticker covers a large area or is in a hard-to-reach spot, professional detailing services may offer quicker, safer solutions.
Additionally, if you notice any damage during removal or lack the time and tools necessary to complete the process, a professional can ensure the job is done efficiently. They possess the tools and expertise to remove even the most stubborn stickers without risking your vehicle’s finish.
For peace of mind or a pristine finish, consider visiting a professional detailing service. Remember, sometimes investing in professional help can save you time, hassle, and potentially costly repairs.
Final Thoughts on Removing Car Detailing Stickers
Removing car detailing stickers doesn’t have to be a daunting task. With the right approach and a bit of patience, you can successfully restore your car’s appearance without a trace of the sticker. Always remember to go gently on your car’s surface and consider professional help if needed.

Leave a comment
This site is protected by hCaptcha and the hCaptcha Privacy Policy and Terms of Service apply.