

Detailing stickers can transform the appearance of your vehicle, adding a touch of personality and flair. Whether you’re new to the world of car customization or looking to perfect your technique, this guide will walk you through the process of applying detailing stickers like a seasoned pro. Stick around to learn the tips and tricks that will ensure a flawless finish every time.
Understanding Detailing Stickers and Their Types
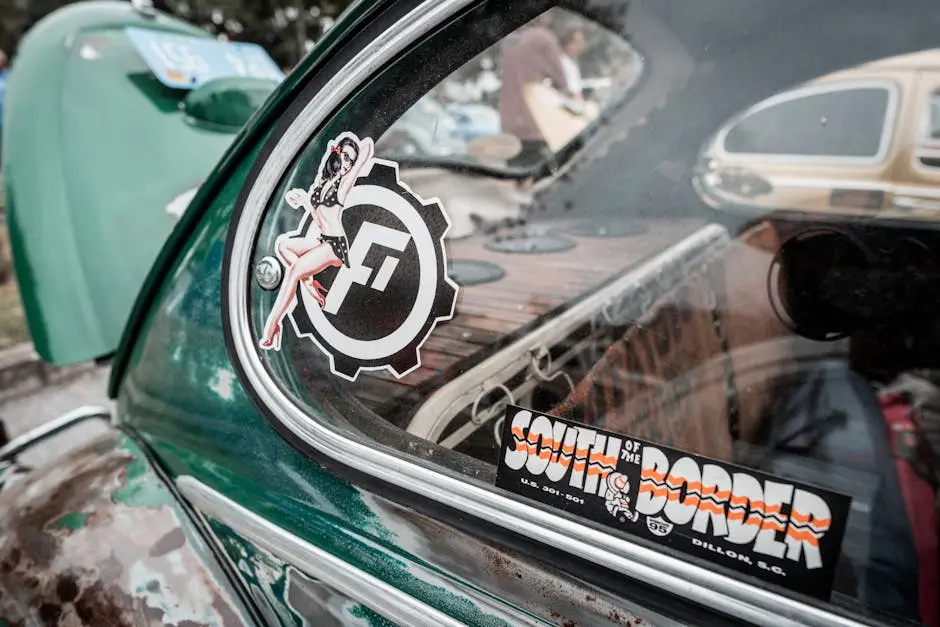
Before diving into the application process, it’s important to understand the different types of detailing stickers available. From vinyl decals to full-body wraps, each type serves a unique purpose and requires specific application techniques. Familiarize yourself with the options to choose the best fit for your vehicle’s needs.
Vinyl decals are among the most popular types of detailing stickers. They are versatile, long-lasting, and can be used on various surfaces. These decals are perfect if you’re looking for something straightforward and easy to apply. Another excellent option is full-body wraps, which provide a complete transformation by covering entire sections of the vehicle. Though they require a bit more expertise in their application, the aesthetic payoff is significant. If you’re aiming for smaller touches, cut-out letters or graphics might be the ideal choice, delivering a clean look with personalized messaging.
Gathering Your Materials
Successful sticker application starts with having the right tools on hand. Essential materials include your chosen detailing stickers, a squeegee, a sharp utility knife, a spray bottle with water, and a clean microfiber cloth. Make sure you have everything ready before you begin.
Having these items ready ensures that you won’t have to stop midway through the process. You’ll also want a reliable work area, preferably indoors, to avoid wind or debris disrupting the delicate work. Some enthusiasts also recommend using an applicator solution to help position the sticker easily and avoid premature adhesion. This solution can be as simple as mixing a few drops of dish soap with water in your spray bottle. Preparing your materials can make the entire process less cumbersome and more efficient.
Prepping Your Surface for Application
Cleanliness is key when it comes to applying stickers. Any dirt, dust, or residue can affect the adhesion quality and final look. Take the time to thoroughly clean and dry the area where you’ll be applying the sticker for the best results.
To get started, wash the vehicle thoroughly using a gentle car shampoo, ensuring you remove all traces of dirt and wax. Once washed, use a good-quality microfiber cloth to dry the surface completely. Some seasoned professionals swear by using isopropyl alcohol to ensure all residues are removed, resulting in an immaculate surface. This step is essential to avoid any bubbles or peeling issues later. Remember, a clean surface is the foundation of a long-lasting sticker application!
Applying the Sticker: Techniques and Tips
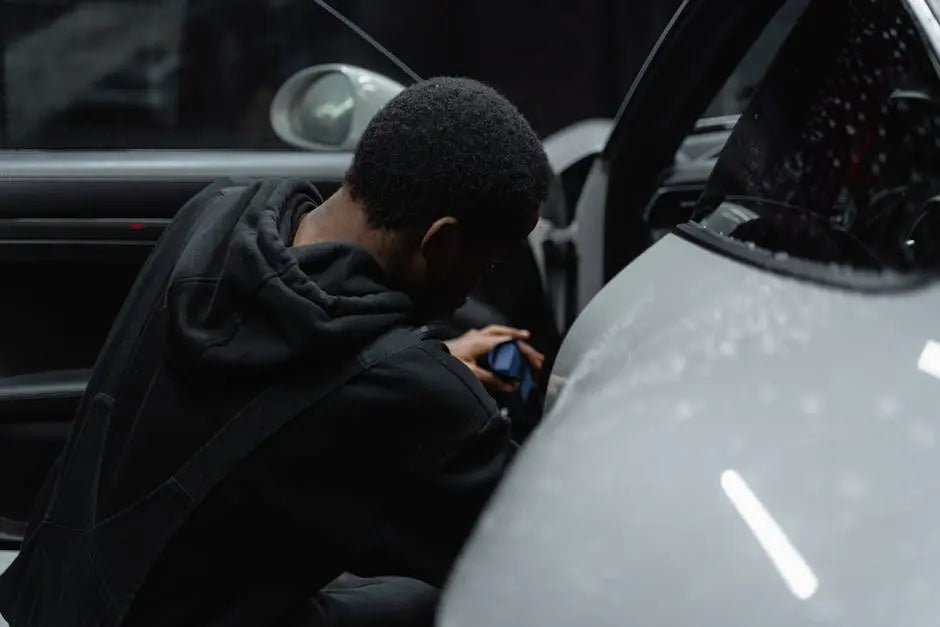
Start by carefully positioning the sticker and using your squeegee to press it down evenly, working from the center outwards to remove any air bubbles. Check for alignment and make any necessary adjustments before fully adhering the sticker.
When applying the sticker, patience is your best friend. Initially, peel away just a small section of the sticker’s backing, allowing you to position it accurately. Once you’re confident with the placement, slowly remove the rest of the backing while simultaneously smoothing with the squeegee. This method minimizes the formation of bubbles. If you’re applying a large sticker or wrap, consider using a heat gun to gently warm the material, making it more pliable and easier to contour over curves. Remember, these techniques can greatly influence the overall finish, giving your detailed work a professional touch.
Finishing Touches and Maintenance
Once the sticker is applied, use a utility knife to trim any excess and ensure the edges are secure. To maintain your stickers, regularly clean them with mild soap and water, and avoid abrasive materials that could damage the design.
After application, take a closer look at the edges and seams. Ensuring these are securely attached can prevent peeling later on. Let the sticker settle well on the surface, and for best results, avoid washing the vehicle for at least 48 hours after application. Proper maintenance is critical; regular, gentle washing with a non-abrasive cleaner will keep the stickers looking fresh and vibrant. Avoid waxes or polish on the stickers unless specified otherwise by the manufacturer. By investing a little time in maintenance, your detailing stickers can maintain a polished, new look for years to come.
Unleash Your Creativity with Perfectly Applied Detailing Stickers
With the right tools, preparation, and technique, applying detailing stickers can be a rewarding and straightforward process. Remember, practice makes perfect, and with each application, you’ll become more adept at creating the desired look for your vehicle. So go ahead, grab those stickers, unleash your creativity, and give your ride a personal touch that stands out on the road. For more personalized options, check out our homepage at Detailing Shirts.

Leave a comment
This site is protected by hCaptcha and the hCaptcha Privacy Policy and Terms of Service apply.